
Essential Guide: Organize Your Camping Gear with a DIY Camping Supplies Box
Table of Contents
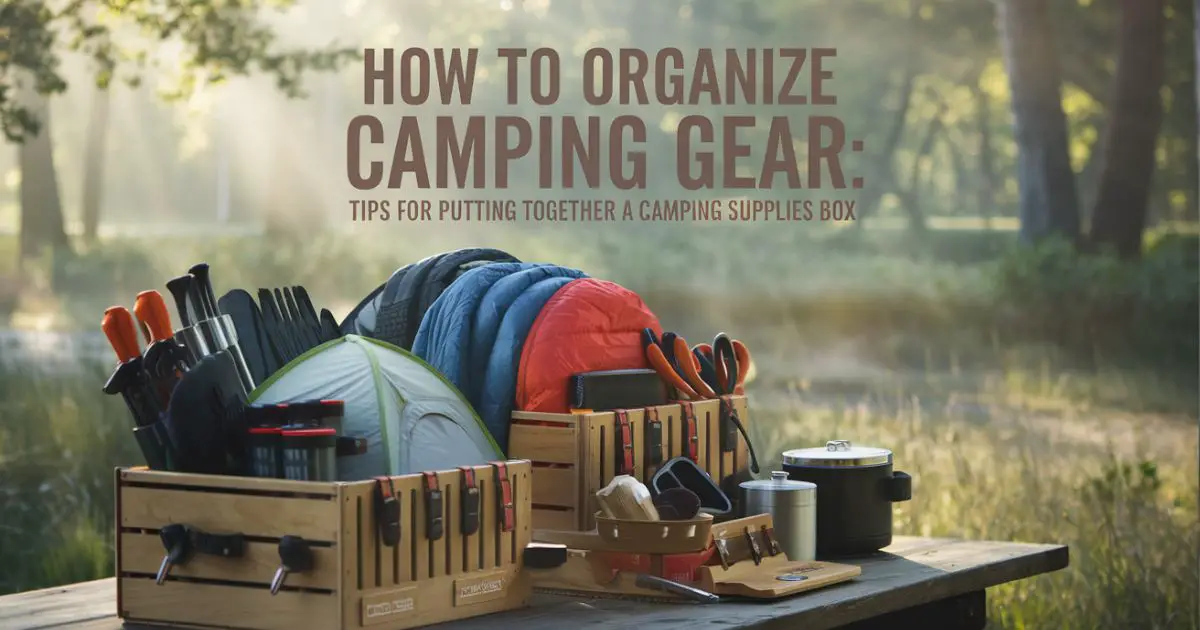
Introduction :
Camping is one of the best ways to immerse yourself in nature, relax, and disconnect from the everyday grind. But as any seasoned camper knows, the key to a stress-free outdoor experience lies in organization. Searching through a pile of gear in the back of your vehicle can lead to frustration and lost time—especially when you’re trying to enjoy a weekend in the wilderness.
That’s where a DIY camping supplies box comes in. It’s a simple, cost-effective solution that can help you organize your essentials, making packing and unpacking easier, saving you time, and even ensuring you don’t forget crucial items like a flashlight or first aid kit.
In this guide, we’ll walk you through the benefits of organizing your camping gear, how to create your own DIY camping supplies box, and provide tips for keeping it organized over time. Whether you’re a weekend camper or a seasoned outdoor adventurer, this system will help you maximize space and streamline your packing process. Let’s dive into how you can create a practical, efficient camping supplies box for your next adventure.
In-Depth Outline
1. Why Organizing Your Camping Gear Matters

- Minimizes stress and maximizes enjoyment on camping trips.
- Ensures you’re always prepared, even in unpredictable conditions.
- Saves time packing and unpacking—especially on shorter trips.
Table: Benefits of Organizing Camping Gear
| Benefit | Explanation |
| Stress-Free Packing | You’ll know where everything is, saving time when setting up. |
| Prepared for Anything | Helps ensure you never forget key items. |
| Improved Efficiency | Faster setup and teardown, giving you more time to relax. |
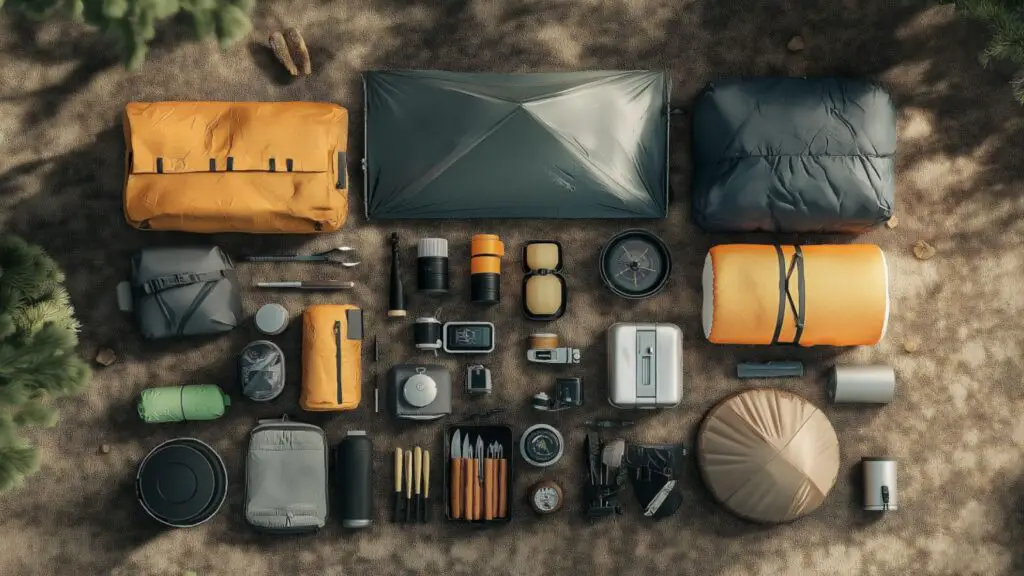
2. Key Items to Include in Your DIY Camping Supplies Box
- Shelter Essentials: Tent stakes, ropes, tarp.
- Cooking Gear: Pots, pans, cooking utensils, and matches.
- Safety & Navigation: Flashlight, first aid kit, map, compass.
Table: Essential Gear for a DIY Supplies Box
| Category | Items to Include | Examples |
| Shelter | Tent stakes, ground tarp, ropes | 4 tent stakes, 2 ropes, tarp |
| Cooking | Cooking pots, stove, utensils, matches | Small stove, spork, portable grill |
| Safety & Navigation | Flashlight, first aid kit, compass | Headlamp, basic first aid kit, map |
3. Step-by-Step Guide to Building Your DIY Camping Supplies Box
- Step 1: Choose the Right Box: Find a durable, weather-resistant container.
- Step 2: Sort and Group Gear: Organize your items by category.
- Step 3: Label Everything: Make it easy to find gear by labeling sections.
- Step 4: Pack Smart: Maximize space by using compact gear.
Table: Step-by-Step DIY Box Creation Process
| Step | Action | Tips |
| Choose a Box | Pick a sturdy, weather-resistant box | Consider a 50-70L plastic storage bin |
| Sort & Group Gear | Organize by category (cooking, shelter) | Use smaller containers for subcategories |
| Label | Label compartments and bags | Use waterproof tape and a permanent marker |
| Pack Efficiently | Place heavier items on the bottom | Utilize every inch of space effectively |
4. How to Keep Your DIY Supplies Box Organized Long-Term
- Regularly check for expired or worn-out items (batteries, first-aid kit).
- Utilize packing cubes or zip bags to keep smaller items contained.
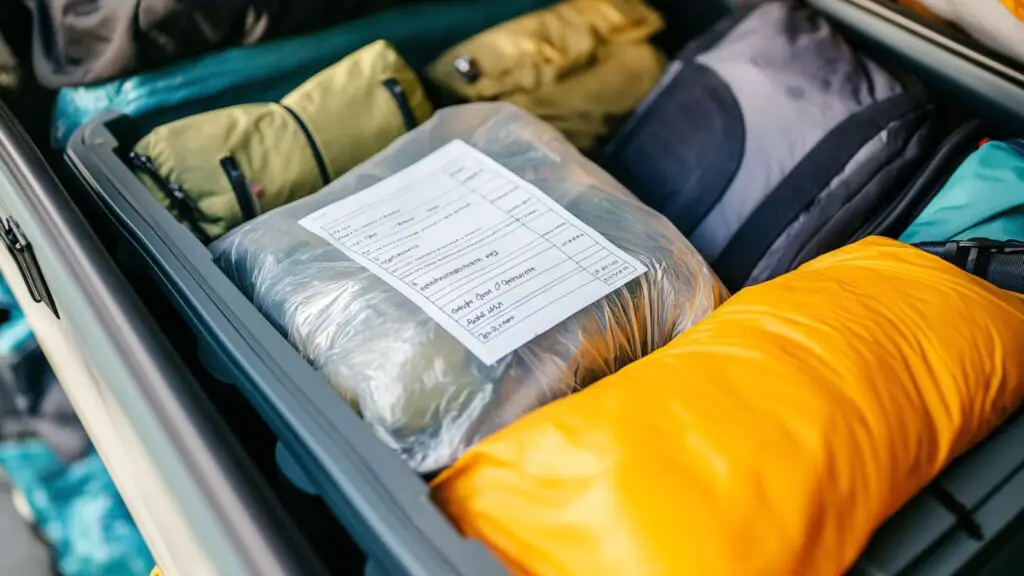
- Keep a master list inside the box to help with repacking after each trip.
Table: Long-Term Organizing Tips
| Tip | Benefit | Example |
| Regularly Check Gear | Prevents gear from deteriorating | Check tent poles, check batteries, refresh first aid kit |
| Use Packing Cubes | Keeps smaller items from getting lost | Use ziplock bags for utensils, ropes, and matches |
| Master Packing List | Simplifies repacking each time | Keep a list of all items, and check it off before and after each trip |
5. Tips for Organizing Specialized Camping Gear
- Hiking: Use compression sacks for clothing and gear.
- Fishing: Store rods, reels, and bait separately to avoid tangling.
- Winter Camping: Consider adding a section for thermal gear, snowshoes, or sleds.
Table: Specialized Gear Organization
| Type of Gear | Organization Tip | Example |
| Hiking Gear | Use compression sacks for clothing | Store clothes in compact sacks |
| Fishing Gear | Use rod holders and tackle boxes | Keep rods separated in padded tubes |
| Winter Camping | Use separate compartment for thermal items | Store snowshoes in their own section |
6. DIY Camping Supplies Box for Families vs. Solo Camping
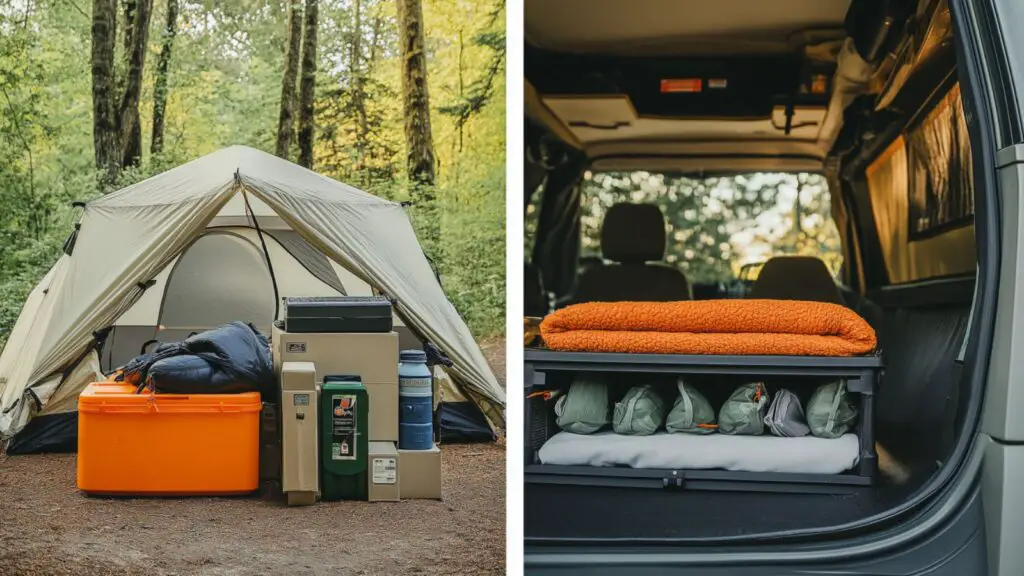
- For families, include additional items like family-size tents, sleeping bags, and extra cooking gear.
- For solo campers, focus on lighter, compact items that are easier to carry.
Table: Family vs. Solo Camping Box Comparison
| Category | Family Camping Box | Solo Camping Box |
| Shelter | Large tent, sleeping bags, extra mats | Small tent, compact sleeping bag |
| Cooking | Family-sized stove, cookware set | Compact stove, multi-purpose pot |
| Navigation & Safety | Extra first aid kit, child-friendly gear | Light first aid kit, compact tools |
7. Budget-Friendly Tips for Building Your DIY Supplies Box
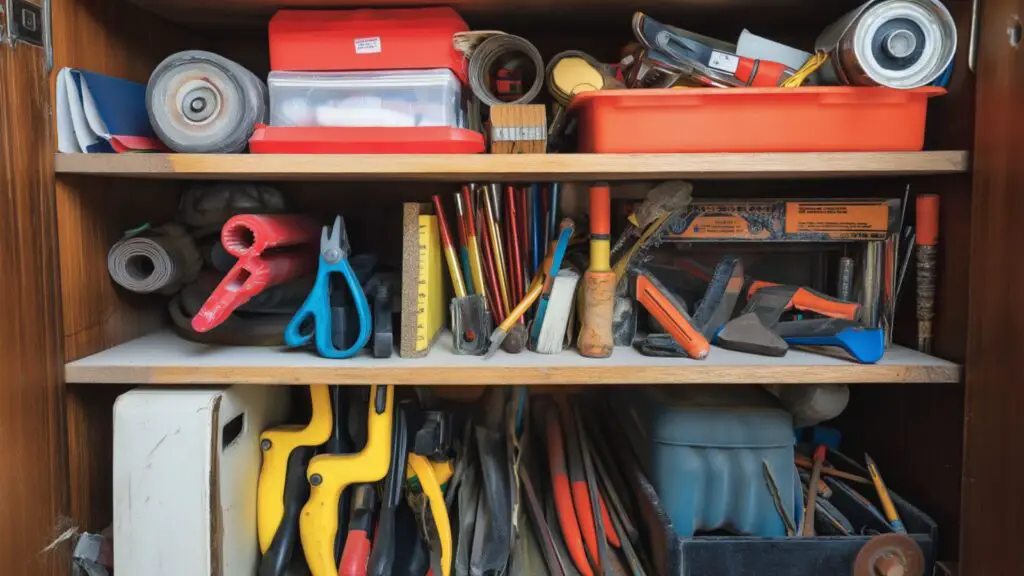
- Opt for second-hand or budget-friendly items when possible.
- Repurpose household containers (like old toolboxes or storage bins).
- Use multi-functional gear to save space and money.
Table: Budget Tips for Organizing Your Box
| Tip | Action | Example |
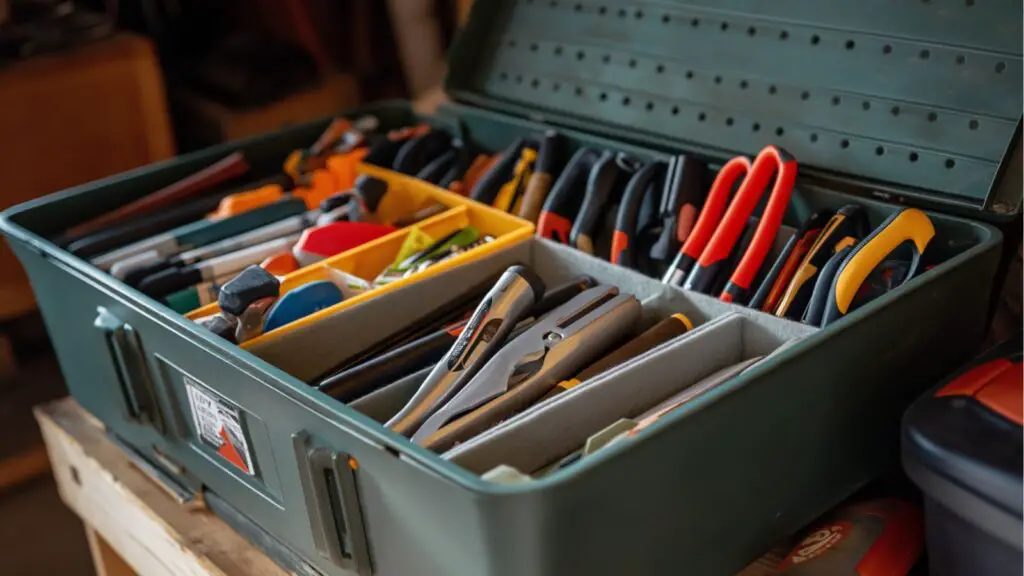
| Repurpose Household Items | Use what you already have at home | Turn an old toolbox into a gear box |
| Multi-functional Gear | Choose gear that serves more than one purpose | Use a multipurpose tool or pot |
| Look for Sales and Discounts | Buy items during off-seasons or sales | Purchase gear during end-of-season sales |
8. Advanced Organization: Customizing Your DIY Supplies Box
- Add dividers or compartments for more specific gear.
- Consider an external storage bag for personal items like toiletries or snacks.
- Use magnetic or Velcro strips for tools or quick-access items.
Table: Advanced DIY Customization Ideas
| Idea | Benefit | Example |
| Dividers/Compartments | Separates items for easy access | Use adjustable dividers in large bins |
| External Storage Bag | Keeps personal items separate | Use a hanging pouch for toiletries |
| Magnetic/Velcro Strips | Quick access to tools or small items | Attach a Velcro strip for flashlights |
Detailed Content Expansion
3. Step-by-Step Guide to Building Your DIY Camping Supplies Box
Creating a DIY camping supplies box isn’t just about putting everything into a bin; it’s about organization that’s efficient, practical, and tailored to your camping style. Here’s how to create a customized supplies box:
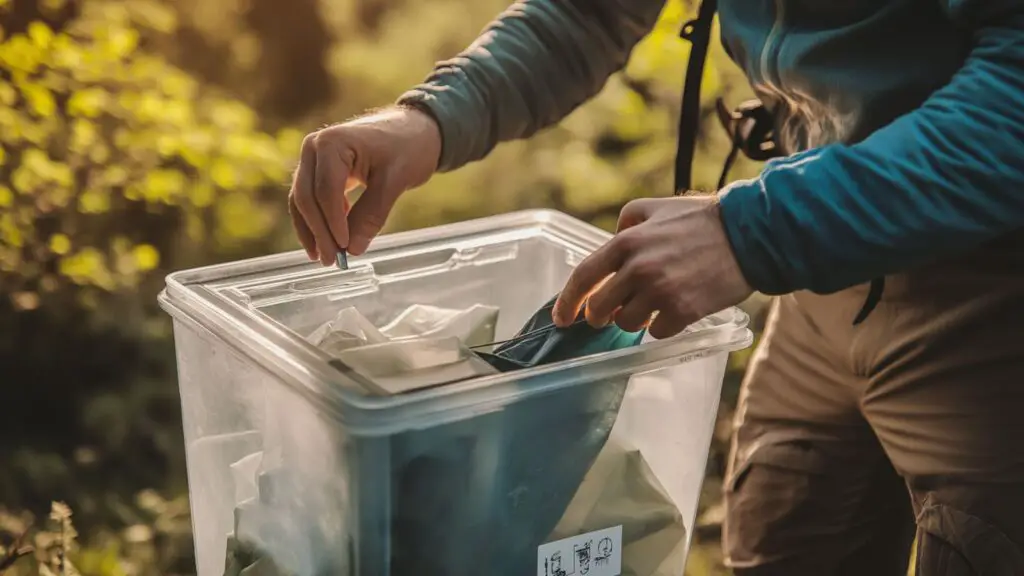
- Step 1: Choose the Right Box: The first step is selecting a sturdy, weather-resistant container. Opt for a 50-70L plastic storage bin with a tight-fitting lid to keep everything dry and safe from the elements. If you have more gear, you may want a larger bin or separate boxes for different categories of gear (cooking, safety, etc.).
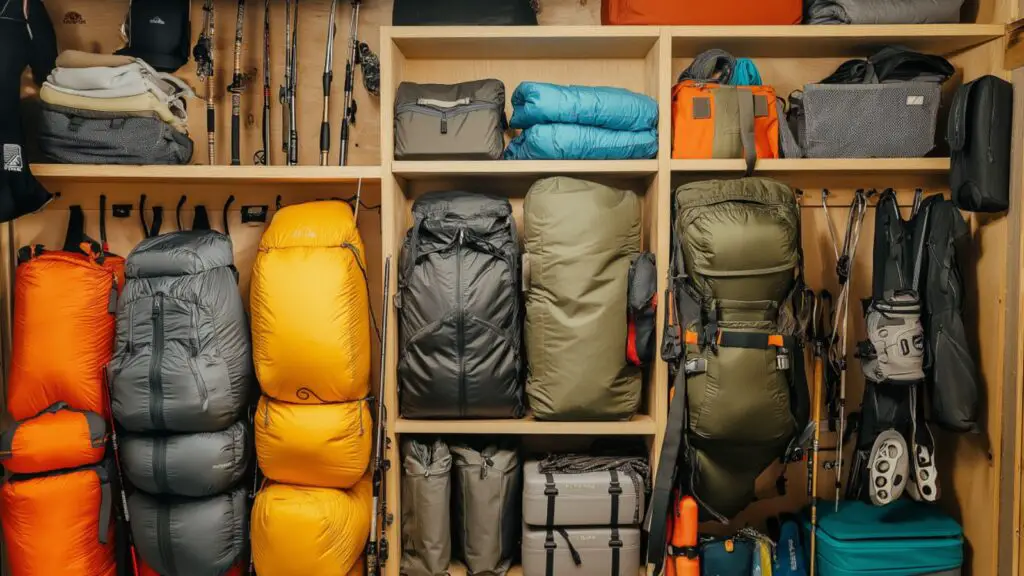
- Step 2: Sort and Group Gear: Start by grouping your camping gear into broad categories: shelter, cooking, safety, and navigation. This helps you organize your box into sections that are easy to access. If you have smaller items like utensils or matches, place them in smaller containers or zip bags.
- Step 3: Label Everything: Once your gear is sorted, label the compartments or bags so you can quickly find what you need. Use waterproof tape and a permanent marker to create durable labels. This will save you time on your camping trip, as you’ll know exactly where everything is.
- Step 4: Pack Smart: Now it’s time to pack your box. Place heavier items (like pots, pans, and cooking gear) at the bottom, and lighter items (like sleeping pads and smaller tools) on top. This will help keep the box balanced and make it easier to access your essentials.
Table: DIY Camping Box Creation
| Step | Action | Tips |
| Choose a Box | Select a weather-resistant box | Consider size and portability |
| Sort and Group Gear | Categorize by type (cooking, shelter) | Use zip bags for smaller items |
| Label Everything | Label compartments clearly | Use waterproof markers |
| Pack Smart | Maximize space with heavier items first | Pack compact and multi-functional items |
4. How to Keep Your DIY Supplies Box Organized Long-Term
Maintaining an organized camping box takes a bit of effort, but it will make every camping trip smoother. Here’s how to keep your supplies box organized long-term:
- Regularly Check Gear: After each camping trip, take a moment to check if any items need replacing, especially batteries, first aid supplies, and fuel. Keep track of these items with a master packing list inside your box.
- Use Packing Cubes and Zip Bags: Smaller items like matches, sporks, and small tools can easily get lost. Use packing cubes or ziplock bags to keep them neatly stored.
- Create a Master List: Write a master list of everything in your box and keep it inside. Before and after each trip, check off the items to ensure that everything is accounted for. This will reduce the chances of forgetting crucial gear.
Table: Long-Term Maintenance Tips
| Tip | Action | Example |
| Regular Gear Checks | Ensure items are not expired or broken | Replace batteries and check for wear |
| Use Packing Cubes | Keep small items organized and accessible | Store cooking utensils in a zip bag |
| Master Packing List | Simplify packing and repacking | List all items in the box |
Conclusion
Organizing your camping gear with a DIY supplies box is a simple yet highly effective way to make your outdoor adventures more enjoyable and efficient. Not only does it save you time and stress, but it also ensures you’re always prepared with everything you need. By sorting your gear into categories, labeling compartments, and packing smart, you can maximize space and stay organized for every trip. Whether you’re camping solo, with family, or on a group adventure, having an organized supplies box will enhance your experience in the great outdoors. Remember to maintain your box and check your gear regularly, ensuring that you’re always ready for your next adventure.